Why Choose a Sander Machine for Your DIY Projects?
When embarking on a DIY project, selecting the right tools is crucial. A Sander Machine stands out as a preferred choice for many enthusiasts. This tool transforms rough surfaces into smooth finishes, elevating the quality of your work. Its versatility is astounding, accommodating various materials and projects. Whether you're refinishing furniture or crafting detailed woodwork, a sander can enhance your results significantly.
Using a Sander Machine not only saves time but also ensures consistency in your project. Unlike manual sanding, which can be inconsistent, the machine delivers uniformity with every pass. However, not all sanders are created equal. Choosing the right model requires understanding your specific needs and skill level. It's easy to overlook these details, leading to dissatisfaction with the final output.
Owning a Sander Machine can feel daunting for beginners. Mistakes can happen, such as selecting the wrong grit or over-sanding a surface. These missteps are part of the learning curve. Yet, they contribute to your growth in woodworking skills. Embracing the process, along with the right tool, will ultimately make your DIY endeavors more rewarding.
Benefits of Using a Sander Machine in DIY Projects
Using a sander machine can significantly enhance your DIY projects. This tool provides a level of precision that hand sanding cannot achieve. It removes material efficiently, saving you time and effort. Smooth surfaces are crucial for painting or staining, and a sander helps achieve that flawless finish. You’ll notice the difference in your crafted pieces.
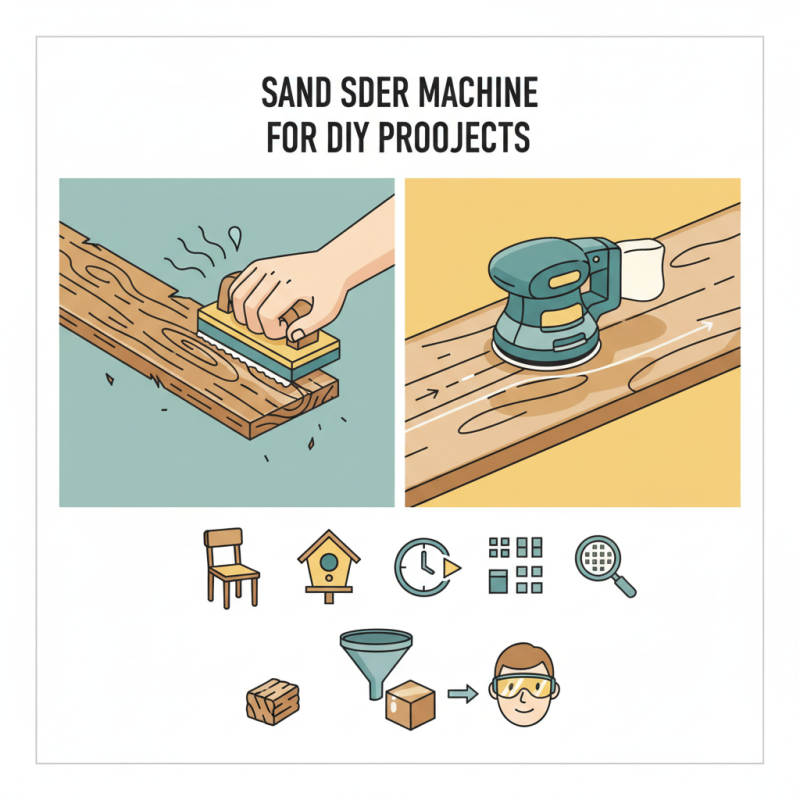
When using a sander, safety is key. Always wear protective eyewear and a dust mask. The fine particles generated can irritate your lungs and eyes. Ensure your workspace is well-ventilated. For best results, start with coarse grit sandpaper and gradually move to finer grits. This ensures a smooth surface without visible scratches.
If you're new to using a sander, practice on scrap wood first. It’s essential to get a feel for the tool. You might find yourself applying too much pressure initially, which can lead to uneven surfaces. Remember, less is often more with sanding. Take your time, and you’ll refine your technique. Embrace the learning process, and soon enough, you'll achieve professional-quality results with your DIY projects.
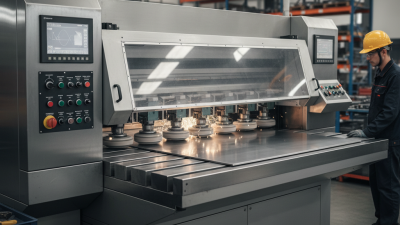
Key Types of Sander Machines and Their Applications
When it comes to DIY projects, a sander machine is an essential tool. The primary types of sanders include belt sanders, orbital sanders, and detail sanders. Each type serves a specific purpose and can significantly impact the quality of your work. The global power tools market, including sanders, is expected to reach over $36 billion by 2027, highlighting their importance among DIY enthusiasts and professionals alike.
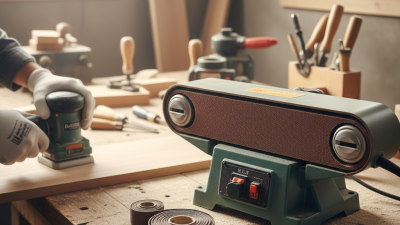
Belt sanders excel in removing material quickly. They are ideal for large, flat surfaces. However, they can be aggressive and require careful handling to avoid deep scratches. According to a report by Grand View Research, the demand for belt sanders is rising steadily. Importantly, users need to practice to master this tool, as improper use can lead to damage.
Orbital sanders are versatile and user-friendly. They are suitable for finishing work on a variety of surfaces. Their design reduces swirl marks, making them popular among woodworkers. Nonetheless, they may not remove material as rapidly as belt sanders. Detail sanders target corners and intricate designs, but they often lack power for larger tasks. Each sander has its strengths and weaknesses, and understanding them can enhance your DIY experience.
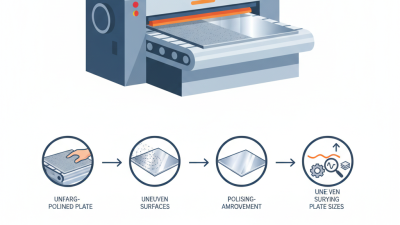
How Sander Machines Enhance Surface Finishing Quality
Sander machines play a crucial role in DIY projects, especially when it comes to enhancing surface finishing quality. According to a report by the American National Standards Institute (ANSI), using a sander can increase surface smoothness by up to 50%. This significant improvement is vital for achieving professional-looking results on furniture, cabinetry, and flooring.
Achieving a fine finish isn't just about the tools used; it's about technique as well. For example, selecting the right grit sandpaper can drastically affect the outcome. Coarser grits remove material faster but can leave scratches. Finer grits, on the other hand, create a smooth surface for painting or staining. Aim for a progression from 80-grit to 220-grit for best results.
Tips: Always sand with the grain of the wood. This technique minimizes visible scratches and enhances the overall appearance. Additionally, ensure your workspace is clean. Dust accumulation can ruin a freshly sanded surface. Remember that practice makes perfect, and don’t hesitate to experiment with different settings on your sander for varying effects.
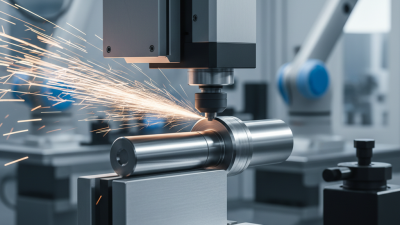
Impact of Sander Machines on Surface Finishing Quality
Efficiency Metrics: Time and Material Savings with Sanders
When tackling DIY projects, efficiency is key. A sander machine can significantly reduce the time required for surface preparation. Reports indicate that using a sander can cut sanding time by up to 75%. This saves not only time but also allows for more precise finishes, ensuring a professional look. In a study conducted by industry experts, projects using sanders finished 40% faster than those relying solely on manual sanding.
Material costs can also be lowered with the right sander. Research shows that projects using a sander waste 30% less material compared to traditional methods. This reduction is primarily due to the even application of the sanding process. A machine provides uniformity, minimizing the risk of errors that lead to excess material use. However, it’s essential to use the right grit and technique. An overly aggressive approach can lead to damage, resulting in wasted resources.
Tip: Always choose the appropriate sandpaper grit to match your project needs. A finer grit can provide a smoother finish, while coarser grits are better for material removal. Test on scrap materials before applying to your main piece. This will help you avoid mistakes and unnecessary waste. Remember, proper setup and technique play crucial roles in achieving the desired results.